Introduction
This document steps you through using the Google Cloud Platform to create a Pub/Sub topic and add a previously created service account to the Pub/Sub topic.
Create a Pub/Sub topic
Perform the following steps to create a Pub/Sub topic:
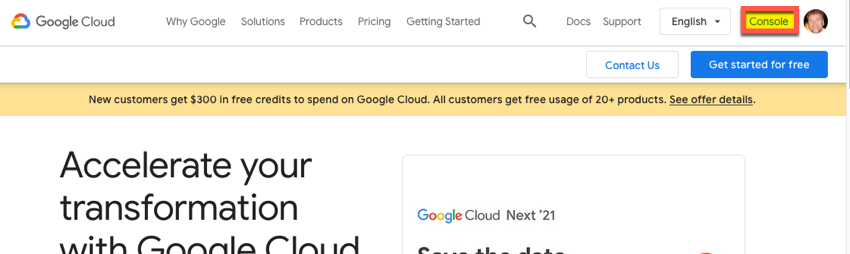
- Browse to the index page for Google Cloud platform (https://cloud.google.com).
- Click the Console link in the top-right of the screen.
- Choose the correct project. You most likely have named your project around your app, like Beacon.

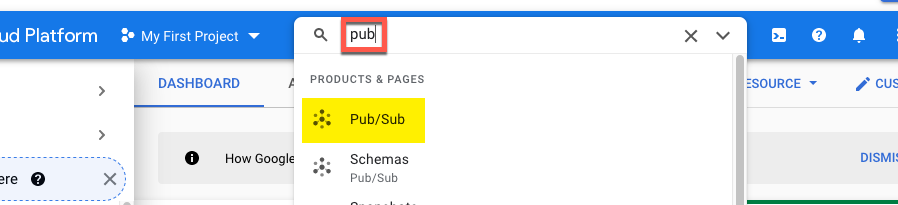
- In the Search, enter pub, and once it appears, click Pub/Sub.
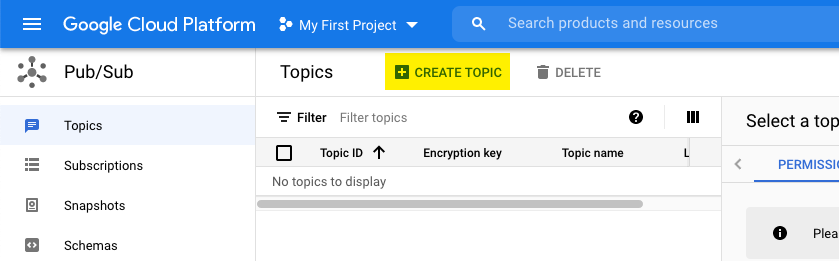
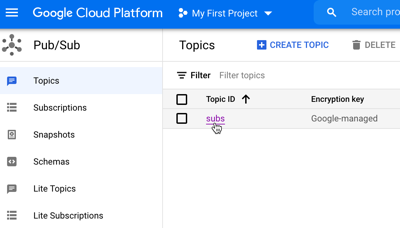
- From the Pub/Sub page, click CREATE TOPIC.
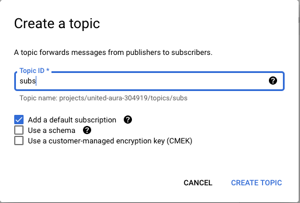
- In the Create a topic dialog, enter the Topic ID to be subs, then click CREATE TOPIC.
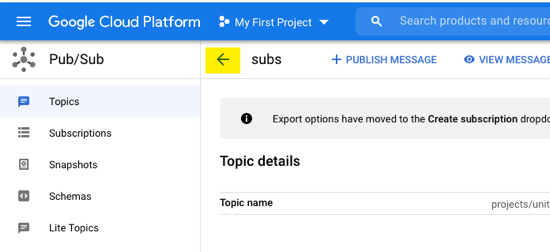
- On the page that appears, click ← to return to the the Topics page.
Add a member to the topic
Perform the following steps to add a service account as a member of the Pub/Sub topic:
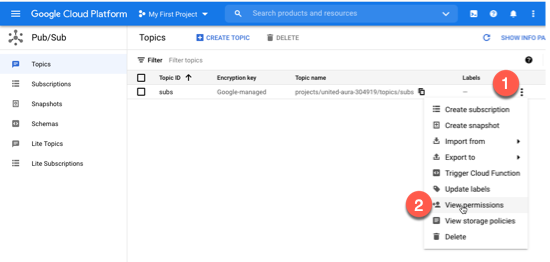
- From the Topics page, for the subs topic, click More actions (the three vertical dots) then from the dropdown select View permissions.
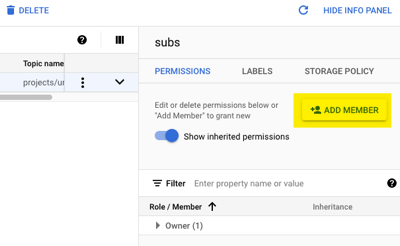
- From the permission panel, click ADD MEMBER.
- Confirm you are seeing the following form:
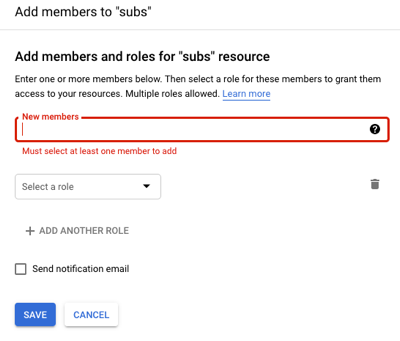
- To get the required email address, browse to the Google Cloud Console - Service Accounts page. You will find the service account you created in the Managing Google Subscriptions Part 1 document. Copy the email address for the Android Subscriptions (or the name you chose) service account.

- Return to the Add members form in Google Cloud Platform.
- Paste the retrieved email address into the New members text field.
- For the role, select Pub/Sub → Pub/Sub Publisher.
- Click the Send notification email checkbox, and add a message.
- Confirm your form is filled in similar to the following:
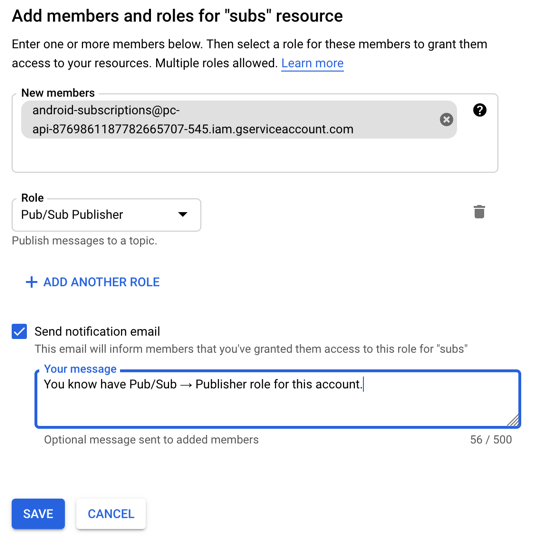
- Click Save.
-
Next, you will add another member email. This will help ensure that google play notifications are received
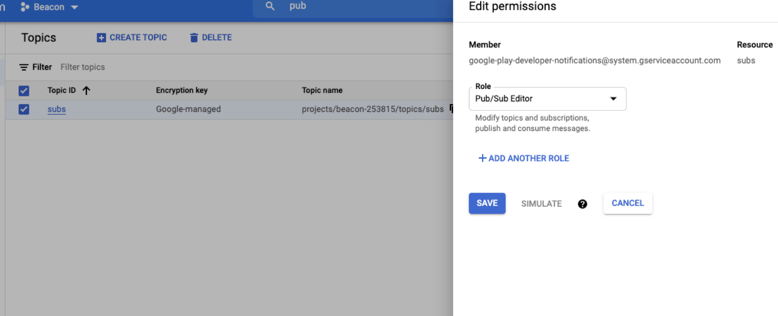
From the permission panel, click ADD MEMBER.
- Confirm you are seeing the following form:
- Add the the following member email:
google-play-developer-notifications@system.gserviceaccount.com -
Set the role to Pub/Sub Editor.
-
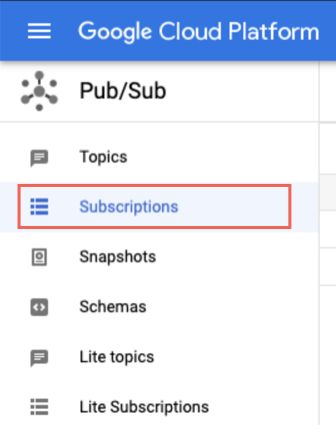
Next, select Subscriptions.
-
Select Create Subscription.

-
Enter a Subscription ID value of subs. From the Select a Cloud Pub/Sub topic dropdown, select a topic.
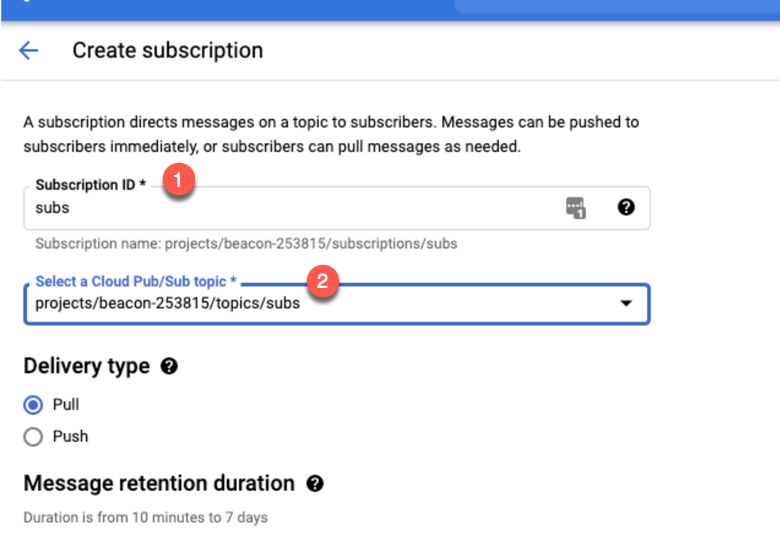
- Click Create.
- From the Topics page, click the subs topic.
- From the Topic details, copy the Topic name (note there is built in copy button, outlined in red).
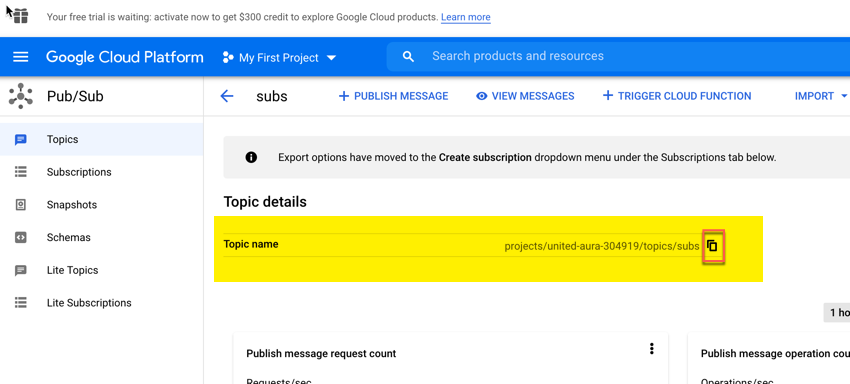
- Send this name to your onboarding manager.
Verify your setup
Follow these steps to verify the notifications for your publisher/subscriber data exchange.
- In the browser, navigate to the Google Play console (https://play.google.com/console/).
- Search for pubs.

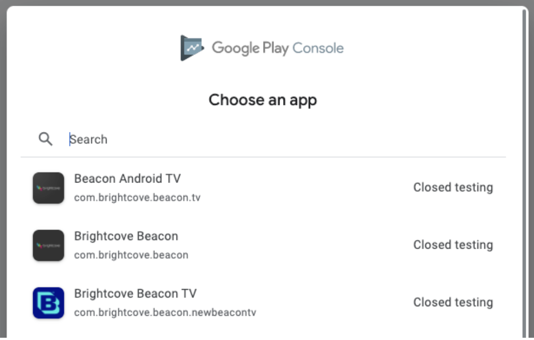
- Select Monetization.
- Choose your app.
- Enter the topic.
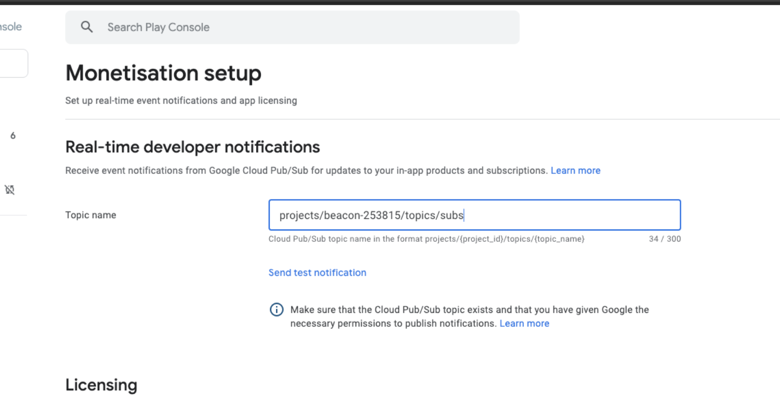
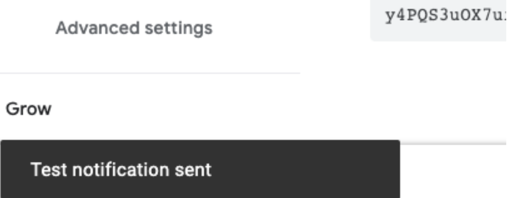
- Select Send test notification.
- If your setup is correct, you should see the following. Note that it takes some time to propagate configurations on Google cloud.