

Using the custom sections
There are two areas in your Beacon app that you can customize. You can add content to the HTML
<div> sections and style these areas using CSS.
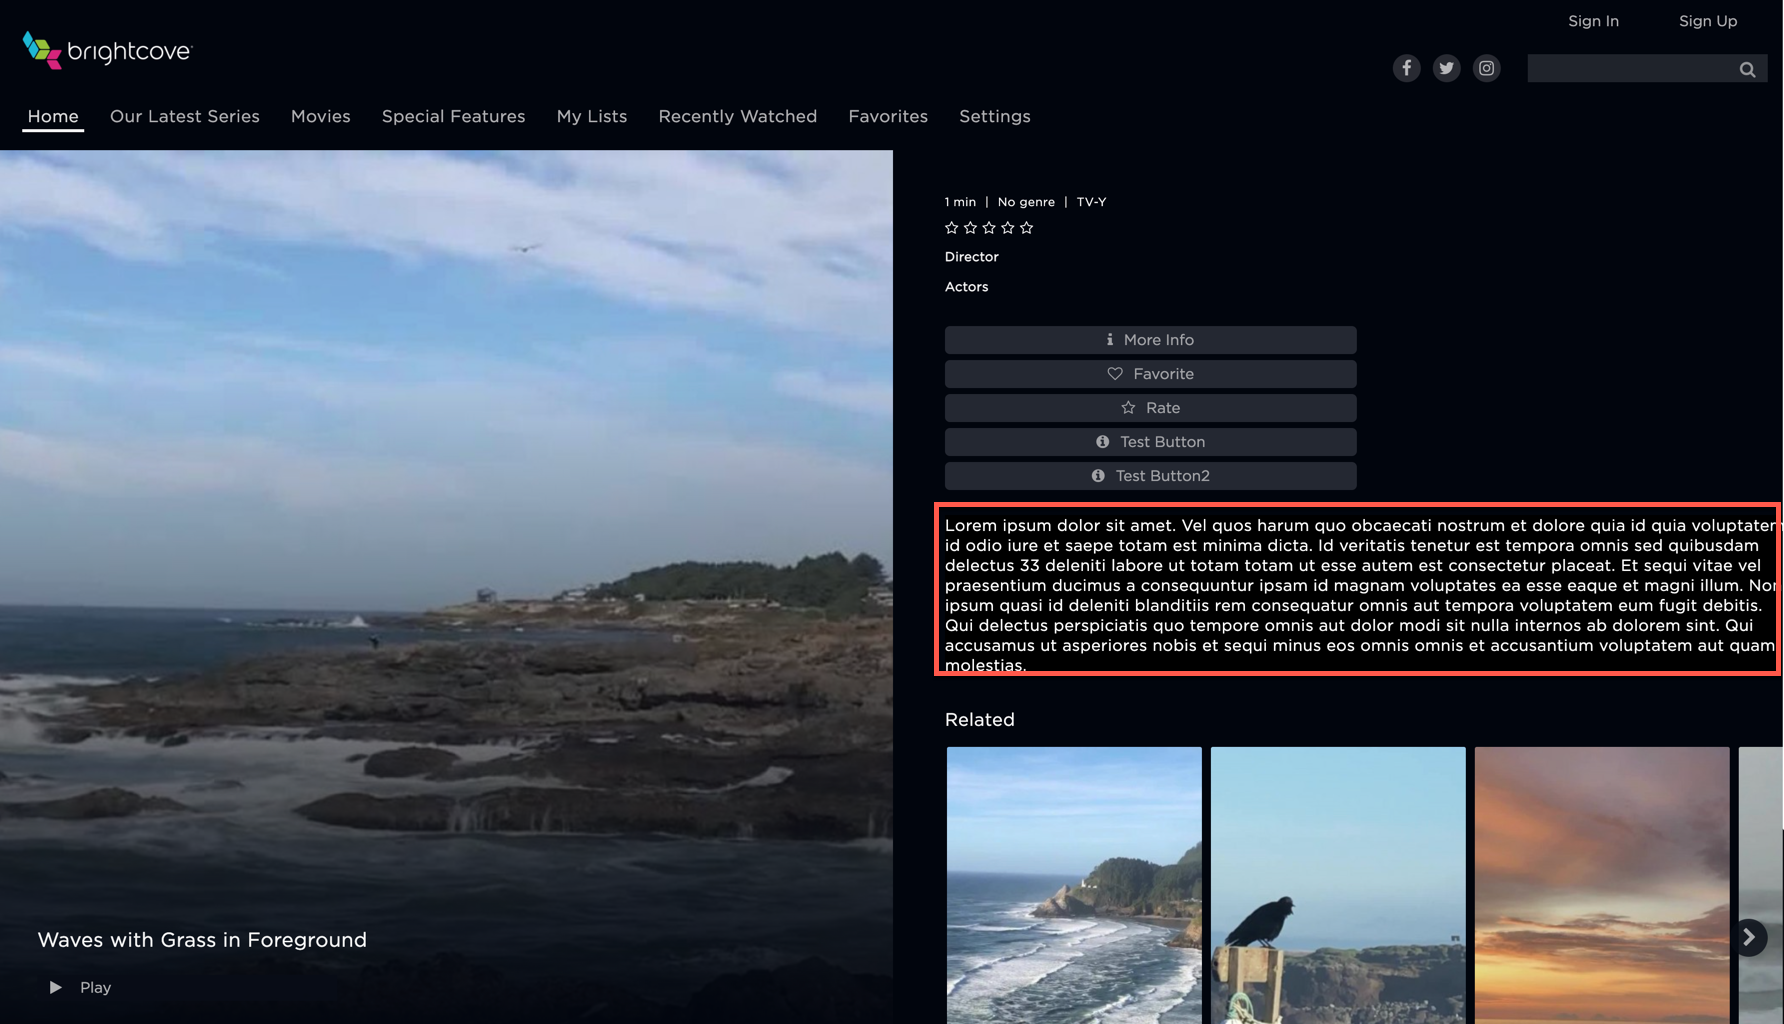
Beacon details mid page
The following image shows an example of the implementation for the
beacon_details_mid_page_section section:
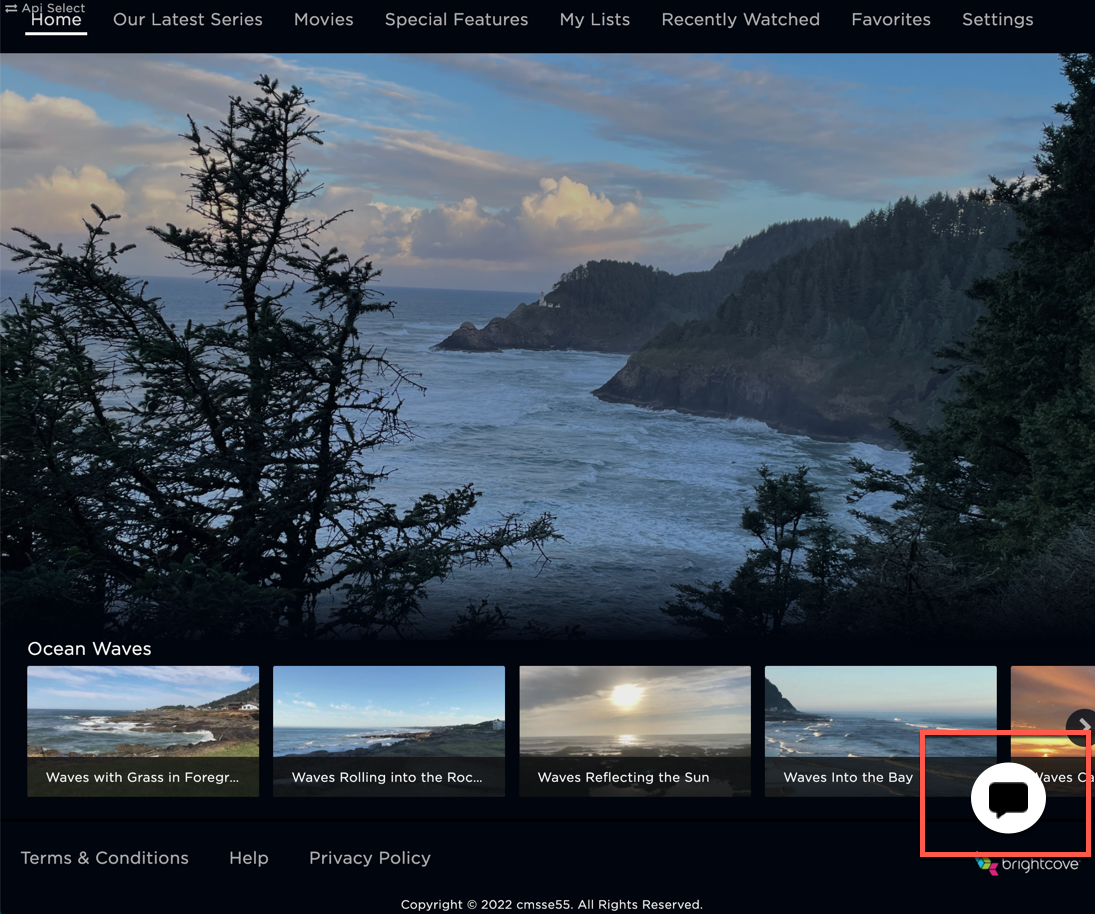
Beacon web app overflow
Also, the following image shows an example of one of the implementations for the
beacon-web-app-overflow section:
Use cases
The following are appropriate use cases for the custom sections.
- The midpage section for the details page can be used to place custom content like a short description.
- The overflow section can be used to add a chat-bot or a help-chat to the bottom of each page.
ID selectors
The following selectors can be used in your plugin code to control the custom <div> tags.
| ID Selector | Details |
|---|---|
beacon-web-app-overflow |
|
beacon_details_mid_page_section |
|
Module implementation
The following shows how functions using the custom HTML <div> sections are implemented
using
JavaScript and CSS modules. Of course, you may implement your JavaScript in the manner of your choice.
The following code contains these functions. A brief descriptions is provided for each:
index.js
Below is the JavaScript code used for beacon_details_mid_page_section example:
const populateMidPageDiv = () => {
    var midPage = document.getElementById('beacon_details_mid_page_section');
    var para1 = document.createElement("P");
    var t1 = document.createTextNode("This is div-mid-page")
    para1.appendChild(t1);
    midPage.appendChild(para1);
};

const clearMidPageDiv = () => {
    var midPage = document.getElementById('beacon_details_mid_page_section');
    midPage.innerHTML = '';
};

export { populateMidPageDiv, clearMidPageDiv };| ID Selector | Details |
|---|---|
populateMidPageDiv() |
This function creates an HTML <p> tag, and then add text to be
displayed on beacon_details_mid_page_section section.
|
clearMidPageDiv() |
This function clears the elements inside the beacon_details_mid_page_section
section.
|
Here is the CSS code used for this example:
#beacon_details_mid_page_section {
    background-color: black;
    color: white;
    font-size: medium;
}
index.js
Below is the JavaScript code used for beacon-web-app-overflow example:
const populateAppOverflowDiv = () => {
    var webAppOverflow = document.getElementById('beacon-web-app-overflow');
    var para2 = document.createElement("P");
    var t2 = document.createTextNode("This is beacon-web-app-overflow.");
    para2.appendChild(t2);
    webAppOverflow.appendChild(para2);
};

const clearAppOverflowDiv = () => {
    var webAppOverflow = document.getElementById('beacon-web-app-overflow');
    webAppOverflow.innerHTML = '';
};

export { populateAppOverflowDiv, clearAppOverflowDiv };| ID Selector | Details |
|---|---|
populateAppOverflowDiv() |
This function creates an HTML <p> tag, and then add text to be
displayed on beacon-web-app-overflow section.
|
clearAppOverflowDiv() |
This function clears the elements inside the beacon-web-app-overflow
section.
|
Here is the CSS code used for this example:
#beacon-web-app-overflow {
    background-color: black;
    color: white;
    font-size: large;
}